Toshiba W-727 User Manual
Browse online or download User Manual for Video recorders Toshiba W-727. Toshiba W-727 User Manual
- Page / 46
- Table of contents
- BOOKMARKS
- Video Cassette Recorder 1
- SAFETY PRECAUTIONS 2
- IMPORTANT PRECAUTIONS 3
- IMPORTANT SAFETY 4
- INSTRUCTIONS 4
- INTRODUCTION 5
- Contents 7
- Identification of Controls 8
- Rear Panel 9
- VCR Display 9
- How to Use the Remote Control 10
- Connections 11
- I.SELECT 12
- Auto Set Up 13
- Setting the Language 14
- Setting the Clock 15
- Storing Channels on the VCR 16
- Selecting stored channels 17
- Adding or erasing channels 17
- TO SET CH PUSH 0~9 KEYS 17
- Channel reference chart 17
- Video Cassette Use 18
- Playback 19
- Variable Speed Playback 20
- Frame Advance 21
- Slow-motion Picture 21
- Tape Remaining Time 22
- Counter Function 22
- PLAYBACK 23
- Basic Recording 24
- Timer Program Recording 25
- TIMERREC 26
- VCR Plus+ C 28
- system Set-up 28
- Guide Channel Setting 29
- VCR Plus+ C system 30
- Recording 30
- . to display the MENU screen 31
- Cable Box Set-up 32
- D : PROG 34
- Satellite Receiver Set-up 36
- POWER (CABLE BOX) 38
- CH (CABLE BOX) 38
- Number buttons (0 – 9) 38
- MTS Broadcast Compatibility 39
- Multi Brand Remote Control 40
- Table of Brand Codes 41
- A.SELECT 42
- ADDITIONAL INFORMATION 43
- Specifications 44
- Accessories 44
- LIMITED WARRANTY 45
- Toll Free 46
- 800-631-3811 46
Summary of Contents
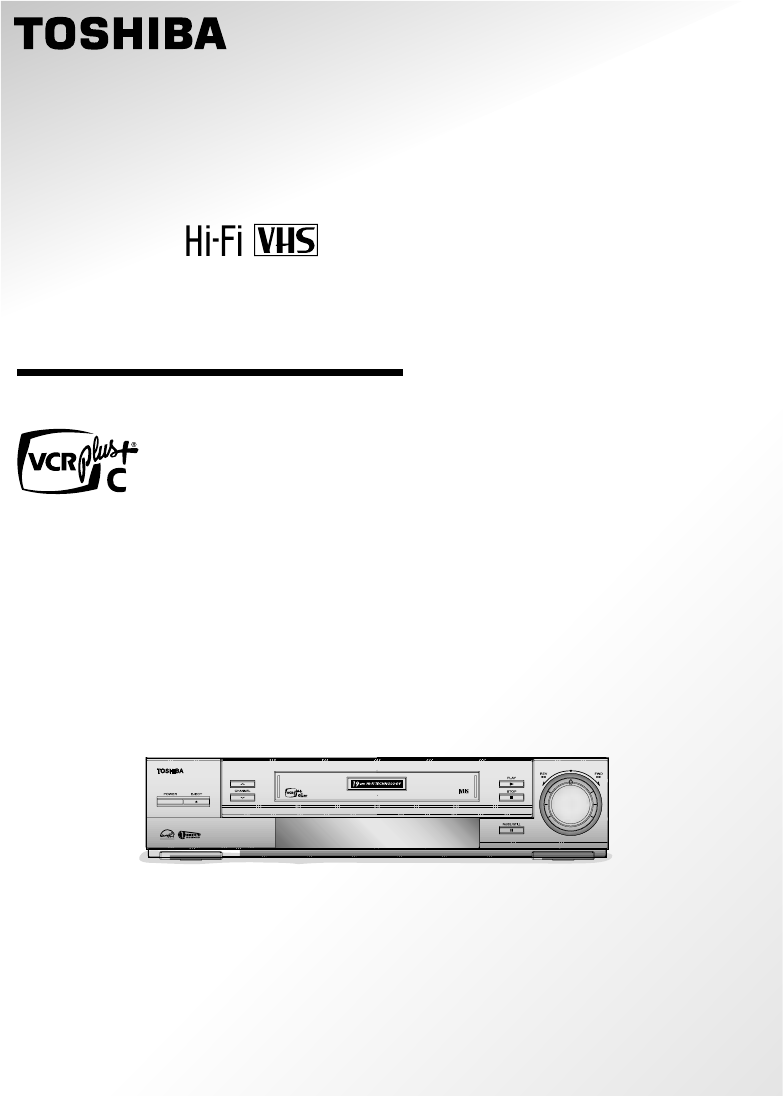
Video Cassette RecorderW-727OWNER’S MANUAL3ABLE BOXONTROLSQPBW-727/Eng (1-9) 3/6/02, 1:37 PM1
10Setting up the Remote Control1Open the battery compartment lid on therear panel.2Install 2 batteries (“AAA” size) followingthe polarity diagrams.3Cl
11PREPARATIONVHF UHFVHF/UHFLRCHOUT(TO TV)IN(FROM ANT.)LINEOUTLINEIN 1VIDEOAUDIO34RFOUT(TO TV)IN(FROM ANT.)RFAntenna/VCR/TV Connection1Disconnect the
12This set-up will enable you to:– watch an unscrambled or scrambled channelwhile recording it.– record any channels through the cable box.You will ne
13PREPARATIONAuto Set UpThe VCR’s clock and tuner channels are set automatically when the VCR is plugged into the AC outlet.PREPARATIONAuto Set up1Plu
14Optional settings on the SET UP screenOther optional settings can be made. Press ENTER while “SET UP” is selected on the MENU screen.The screen tur
15PREPARATION8Press ENTER to start the “AUTO” clockset feature.After the VCR is turned off, it automaticallyupdates the clock using the data broadcast
16Incoming Antenna/Cable(CATV) SignalsThe VCR scans through all receivable TV and CATV channels and stores only the activeones in your area into the m
17PREPARATIONTo add channelsTo erase channelsChannel reference chartNumber on the VCRCorresponding channel numberTVCATV STD (HRC/IRC) CH NU
18Video Cassette UseLoading a cassettePush the cassette into the cassette compartment with the window side facing up and thelabel side towards the fro
19PLAYBACKAdjusting the trackingWhen playback starts, the VCR automatically adjusts the tracking for clear pictures and sound(Digital Auto Tracking).I
2In the spaces provided below, record the Model and Serial No. located at the rear of your videocassette recorder.Model No. Serial No.Retain this info
20PLAYBACKVariable Speed PlaybackYou can play back a tape at various tape speeds.Picture SearchA tape runs at 5 times or 7 times the normal playback s
21PLAYBACKTVVCRPROG. ENTERTV/VCRPOWERCH/TRKTV VOLI.SELECTREMAIN/COUNTERDISPLAYCOUNT RESETSP/SLPRECTIMERSLOWPLAY/x2PAUSE/STILLREW FFSTOP123456789CANCEL
22PLAYBACKUseful Functions in Tape OperationThese functions will help your playback.Tape Remaining TimeTo view the tape remaining time in the VCR disp
23PLAYBACK1On the SET UP screen, select“COUNTER MEM.” using PLAY/x2 orSTOP, and set to “ON” usingREW or FF.2Press PROG. once to exit. The memory-
24Watching a TV program whilerecording another1) While recording, press TV/VCR to turn off“VCR” indicator.2) Choose another channel using the channels
25RECORDINGTimer Programming ProcedureExample: To record cable channel 25 in the SP tape speed from9:20 p.m. until 10:00 p.m. on August 30. Today is
265Move to the next using FF, and setthe recording date using PLAY/x2 orSTOP.The date changes as follows:[WKLYSU]…[WKLYSA]: You can record TV programs
27RECORDINGIf a power failure occurs during thetimer program recording (includingVCR Plus+ C system recording(page 30)• When a power failure has oc
28The flow chart below will give you an ideaas to what must be done to use theVCR Plus+ C system feature.Setting the Clock (page 15)↓Cable Box Set-u
29RECORDINGGuide Channel Setting1Press PROG..2Select “PRESET” using FF or REW, and press ENTER.3Select “CH MEMORY” using PLAY/x2 or STOP, and pressEN
3IMPORTANT PRECAUTIONSSave Original Packing MaterialsThe original shipping carton and packing materials will come in handy if you ever have to shipyou
30VCR Plus+ C system Programming1Press VCR Plus+.The VCR PLUS+ screen appears.2Enter a PlusCode.Example: To record a program with thePlusCode pro
31RECORDING5Press ENTER.The program setting is now memorized.• If your cable box is not remote-controllable, select the recordingchannel on the cable
32Cable Box ControlThis VCR needs to be connected to a cablebox equipped with an infrared wirelessremote control. You can select cablechannels from t
33RECORDINGPreparation• Select the video channel (3 or 4) or video input mode on the TV.• Set “TV/CATV” on the CH MEMORY screen to “CATV” (page 16).(E
34Cable Box Set-up (continued)VCR displayCable box displayCable channel number7Select “BRAND TYPE” using STOP, and enter a brand codeof your cable box
35RECORDINGTable of cable box brand codesToshiba 36Anvision 13, 20, 21, 22, 23, 24, 25,26, 58, 62, 84Archer 1, 20, 21, 29, 42, 44, 63,88, 91Cablestar
36DSS® Satellite Receiver Set-upThe VCR can directly control channel selecting of the connected DSS® satellite receiver.RECORDINGDSS® Satellite Receiv
37RECORDINGDSS® Satellite Receiver Set-up1Press PROG. to display the MENU screen.2Select “PRESET” using FF or REW,and press ENTER.3Select “CABLE BOX/D
38DSS® Satellite Receiver Set-up (continued)VCR displayOFF: if your DSS® satellite receiver isNON remote-controllable.• Satellite channels will be se
39RECORDINGMTS Broadcast CompatibilityThis VCR can receive or record MTS (Multichannel TV Sound) broadcasts. By connecting the VCR toyour stereo syst
41. Read owner’s manualAfter unpacking this product, read the owner’s manual carefully, and follow allthe operating and other instructions.2. Power So
40TVVCRPROG. ENTERTV/VCRPOWERCH/TRKTV VOLI.SELECTREMAIN/COUNTERDISPLAYCOUNT RESETSP/SLPRECTIMERSLOWPLAY/x2PAUSE/STILLREW FFCURSORSTOPCANCELA.SELECTEJE
41ADDITIONAL INFORMATIONToshiba 01Bell & Howell 09Carver 10Celebrity 03Citizen 12Curtis Mathes 09, 12Dumont 14Electro band 03Emerson 09, 11Fisher
42No power.• The power cord is not plugged in.– Plug the power cord into the outlet firmly.Although the power is on, the VCR willnot work.• There is n
43ADDITIONAL INFORMATIONThe remote control does not workproperly.• The batteries are exhausted.– Replace all batteries. (page 10)• The remote control
44SpecificationsAccessoriesAntenna cable ... 1Remote control... 1Batteries (AAA
LIMITED WARRANTYTOSHIBA VIDEO CASSETTE RECORDERToshiba America Consumer Products, Inc. (“TACP”)and Toshiba Hawaii Inc. (“THI”) make the followinglimit
LIMITED WARRANTY (continued)How to Obtain Warranty Service(1)Refer to the troubleshooting guide in your owner's manual. This check list may solve
56. Water and MoistureDo not use this product near water - for example, near a bath tub, wash bowl,kitchen sink, or laundry tub; in a wet basement; or
616. Damage Requiring ServiceUnplug this product from the wall outlet and refer servicing to qualified service personnel under thefollowing conditions
7INTRODUCTIONProvides important notes and generalexplanation of the VCR, including names of thebuttons, jacks, etc.SAFETY PRECAUTIONS ...
8TVVCRPROG. ENTERTV/VCRPOWERCH/TRKTV VOLI.SELECTREMAIN/COUNTERDISPLAYCOUNT RESETSP/SLPRECTIMERSLOWPLAY/x2PAUSE/STILLREW FFCURSORSTOP123456789CANCELA.S
9Rear PanelMultifunctionalindicatorVCR indicatorCassette indicatorTimer recording indicatorHi-Fi indicatorSAP indicatorVCR DisplayHi-FiSAPVCRTIMERLINE
Related products and manuals for Video recorders Toshiba W-727
 (33 pages)
(47 pages)
(83 pages)
(49 pages)
(52 pages)
(52 pages)
(111 pages)
(189 pages)
(49 pages)
(35 pages)
(52 pages)
(32 pages)
(47 pages)
(42 pages)
(49 pages)
(44 pages)
(52 pages)
(33 pages)
(47 pages)
(83 pages)
(49 pages)
(52 pages)
(52 pages)
(111 pages)
(189 pages)
(49 pages)
(35 pages)
(52 pages)
(32 pages)
(47 pages)
(42 pages)
(49 pages)
(44 pages)
(52 pages)
 (47 pages)
(20 pages)
(47 pages)
(20 pages)
© 2020, manymanuals.com. All rights reserved. | 1.429 s |
 Manymanuals.com
 Manymanuals.de
 Manymanuals.fr
 Manymanuals.it
 Manymanuals.pl
 Manymanuals.cz
 Manymanuals.es
 Manymanuals-pt.com
Comments to this Manuals