Toshiba TLP-B2U User Manual
Browse online or download User Manual for Projectors Toshiba TLP-B2U. Toshiba TLP-B2U User Manual
- Page / 67
- Table of contents
- BOOKMARKS
- 3LCD DATA PROJECTOR 1
- SAFETY PRECAUTIONS 2
- IMPORTANT PRECAUTIONS 3
- IMPORTANT SAFETY INSTRUCTIONS 4
- Power supply cord selection 9
- Contents 10
- Before use 11
- Loading a battery 14
- Remote control operation 15
- Installation and 16
- (At maximum zoom) 17
- (At minimum zoom) 17
- Take off the lens cover 18
- Connect the power cord 18
- CONTENTS 19
- Connecting video equipment 23
- To RS-232C connector 24
- Control cable 24
- (supplied) 24
- Projection on the screen 25
- Operations 26
- Select the input source 26
- ON LAMPON LAMP ON LAMP 28
- Press KEYSTONE 29
- Press MUTE 30
- Freezing the picture 31
- Enlarging the picture size 32
- Menu screen structure 33
- Quick menu setting 34
- Adjustments 35
- Press ENTER 35
- Contrast 37
- Keystone 39
- Default setting 49
- Default setting (Continued) 50
- Display the full menu screen 52
- Current input source 53
- Video signal system 53
- Signal vertical frequency 53
- Trouble indications 54
- Air filter cleaning 55
- Lens and main unit cleaning 56
- Lamp replacement 57
- Lamp replacement (Continued) 58
- Applicable RGB signal 61
- Interface format 62
- Command list 62
- Specifications 64
- Specifications (Continued) 65
- LIMITED WARRANTY 66
- LIMITED WARRANTY (Continued) 67
Summary of Contents
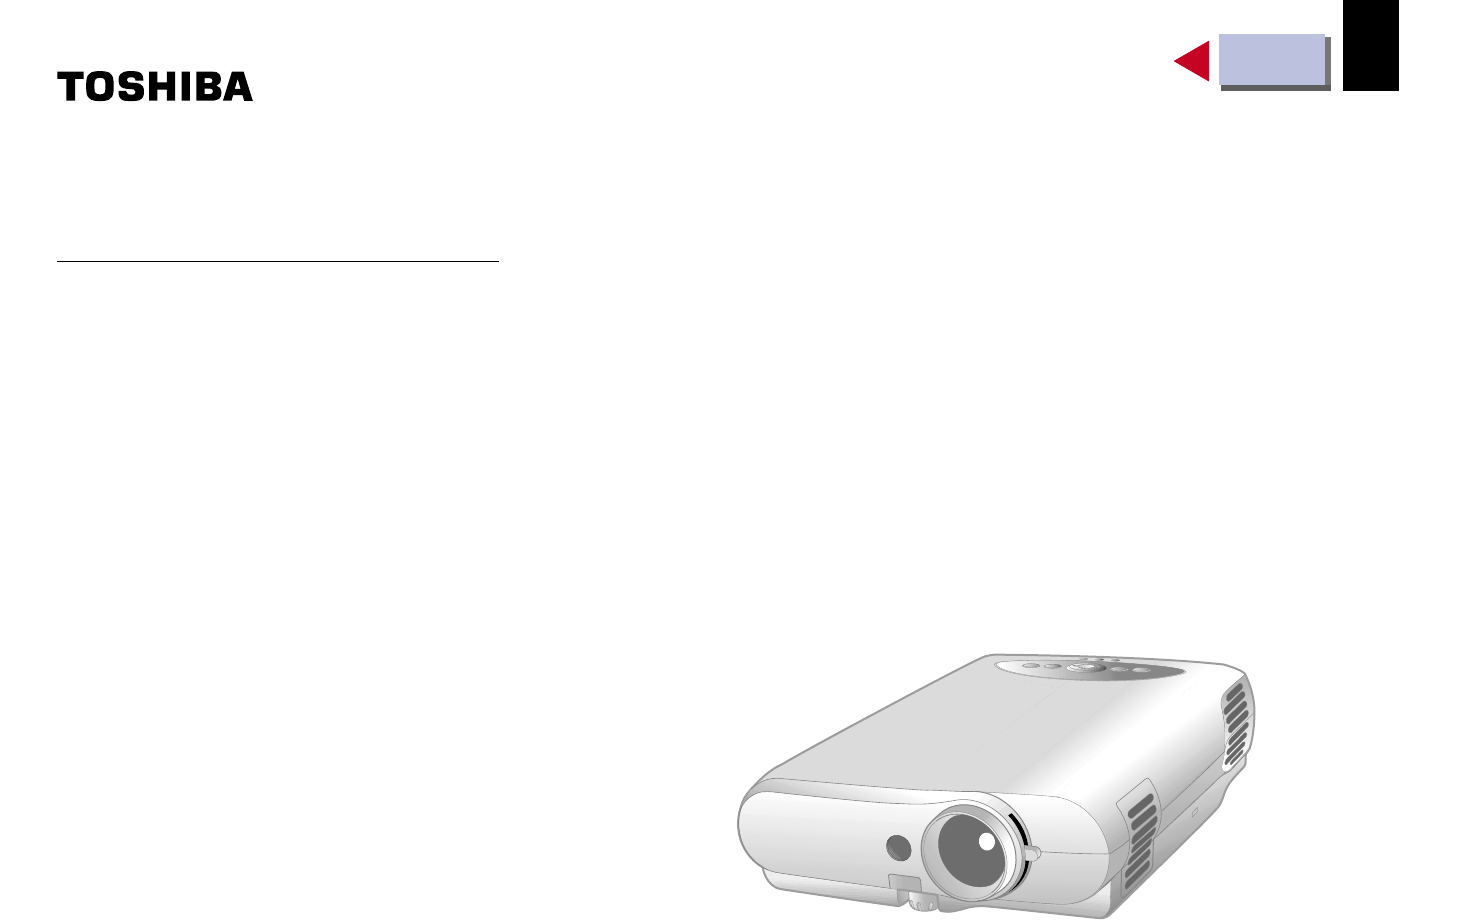
CONTENTS1Before useOWNER’S MANUAL3LCD DATA PROJECTORTLP-B2U
CONTENTS10Before useContentsBefore useSAFETY PRECAUTIONS ... 2IMPORTANT PRECAUTIONS ...
CONTENTS11Before useNames of each part on the main unitIntake holesFoot adjuster 19Zooming ring 27Focusing ring 27Anti-theft lockAir filter 55Lens cov
CONTENTS12Before useAC IN socket 18Names of each part on the main unit (Continued)VIDEO jack 23To enter video signal froma video equipment, etc.S-VIDE
CONTENTS13Before useNames of each part on the remote controlKEYSTONE button 29RGB button 26VIDEO button 26RESET button 35ENTER button 34MUTE button 30
CONTENTS14Before useWhile pushing the holder in the direction 1, slide it out inthe direction 2.Loading a battery1233VCR2025CR20253VSet a coin-shaped
CONTENTS15Before useRemote control operationPoint the remote control at the infrared remote sensor and press a button.Notes• The remote control may no
CONTENTS16Installation andconnectionFloor-mounted projector placementFloor-mounted front projectionViewing a picture projected on the front ofthe scre
CONTENTS17Installation andconnectionPlace the projector on a steady, level surface such as a table.To obtain proper screen projected, place the projec
CONTENTS18Installation andconnectionConnect the power cord.• Insert one end in the AC IN socket on the projector.• Insert the other end in a wall outl
CONTENTS19Installation andconnectionProjector placement angle adjustmentFoot adjusterrelease buttonFoot adjusterLift up LowerThe tilt of the projector
CONTENTS2Before useSAFETY PRECAUTIONSThe lightning flash with arrowheadsymbol, within an equilateral triangle,is intended to alert the user to thepres
CONTENTS20Installation andconnectionCeiling-mounted front projectionViewing a picture projected on the front of the screen from aceiling installation.
CONTENTS21Installation andconnectionNotes• The projector cannot be connected to a computer that does not have an analog RGB output terminal. For detai
CONTENTS22Installation andconnectionConnecting a Macintosh computerNotes• The projector cannot be connected to a computer that does not have an analog
CONTENTS23Installation andconnectionConnecting video equipmentNoteSignal input to the S-VIDEO jack takes priority over that to the VIDEO jack.You can
CONTENTS24Installation andconnectionProjector operation control by a computerYou can control the projector by connecting a computer to the CONTROL con
CONTENTS25OperationsPreparation1Install and connect the projector properly.2Take off the lens cover.Press ON/STANDBY.The projector turns on and both t
CONTENTS26OperationsProjection on the screen (Continued)Select the input source.On the remote control, press RGB or VIDEO.On the control panel of the
CONTENTS27OperationsAdjust the picture size by turning thezooming ring.Turn to the right to enlarge the picture.Turn to the left to reduce the picture
CONTENTS28OperationsTurning the power offPress ON/STANDBY after using theprojector.An instruction message appears.Press ON/STANDBY again.The LAMP indi
CONTENTS29OperationsCorrecting the keystone distortionA picture may be expanded on the upper side if projected upward from theprojector lifted up by t
CONTENTS3Before useIMPORTANT PRECAUTIONSIn the spaces provided below, record the Model and Serial No.located at the rear of your LCD projector.Model N
CONTENTS30OperationsCutting off the picture and sound temporarilyPress MUTE.The sound and picture are cut off temporarily.“ ” appears.To restore, pre
CONTENTS31OperationsFreezing the picturePress FREEZE.The picture freezes.“ ” mark appears on the screen.To release the picture, press FREEZE again.No
CONTENTS32OperationsYou can enlarge the picture size projected.Enlarging the picture sizePress ZOOM (+).Each time the ZOOM (+) button is pressed, thee
CONTENTS33Adjustments Picture adjustment 36 Image adjustment 38 Level adjustment 40 Audio adjustment 42 Signal setting 44 Display setting 47 Default s
CONTENTS34AdjustmentsPreparation1Project a picture on the screen as explained in the step “Projection on the screen”. 25Quick menu settingSelect the s
CONTENTS35AdjustmentsQuick menu setting (Continued)4Notes• Pressing the MENU button will return to the previous setting screen.• You can adjust the “C
CONTENTS36AdjustmentsAdjusting picture (Picture adjustment)Preparation1Project a picture on the screen as explained in the step “Projection on the scr
CONTENTS37AdjustmentsAdjusting picture (Continued)5Adjust the item by pressing / .If you adjust other setting item, return to step 3.–: +: (–)
CONTENTS38AdjustmentsAdjusting Image (Image adjustment)Preparation1Project a picture on the screen as explained in the step “Projection on the screen”
CONTENTS39AdjustmentsAdjusting image (Continued)5Adjust the item by pressing / .If you adjust other setting item, return to step 3.–: +: Keyst
CONTENTS4Before useIMPORTANT SAFETY INSTRUCTIONSCAUTION: PLEASE READ ANDOBSERVE ALL WARNINGSAND INSTRUCTIONS GIVENIN THIS OWNER’S MANUALAND THOSE MARK
CONTENTS40AdjustmentsAdjusting RGB-level (Level adjustment)Preparation1Project a picture on the screen as explained in the step “Projection on the scr
CONTENTS41AdjustmentsAdjusting RGB-level (Continued)5Adjust the item by pressing / .If you adjust other setting item, return to step 3.–: +: R
CONTENTS42AdjustmentsAdjusting audio output (Audio adjustment)Preparation1Project a picture on the screen as explained in the step “Projection on the
CONTENTS43AdjustmentsAdjusting audio output (Continued)(When selecting “Volume” in step 3.)Adjust the Volume by pressing / . (–): To turn down. (+)
CONTENTS44AdjustmentsSetting the input signal (Signal setting)Preparation1Project a picture on the screen as explained in the step “Projection on the
CONTENTS45AdjustmentsSetting the input signal (Continued)Change the selection by pressing / .Picture mode:Bright: To set the picture with its brigh
CONTENTS46AdjustmentsSetting the input signal (Continued)5Press MENU several times until the fullmenu screen disappears.Notes• Pressing the MENU butto
CONTENTS47AdjustmentsPreparation1Project a picture on the screen as explained in the step “Projection on the screen”. 25Setting the display method (Di
CONTENTS48AdjustmentsChange the selection by pressing / .Menu position:Upper left: To display the menu on the upper leftposition.Upper right: To di
CONTENTS49AdjustmentsDefault settingPreparation1Project a picture on the screen as explained in the step “Projection on the screen”. 25Display the ful
CONTENTS5Before use5. HeatThe product should be situated awayfrom heat sources such as radiators,heat registers, stoves, or other products(including a
CONTENTS50AdjustmentsDefault setting (Continued)Change the selection by pressing / .Language:Select the language used for the menu screen.English:
CONTENTS51AdjustmentsDefault setting (Continued)Press MENU several times until the fullmenu screen disappears.Notes• Pressing the MENU button will ret
CONTENTS52AdjustmentsPreparation1Project a picture on the screen as explained in the step “Projection on the screen”. 25Reset, Status display (Data se
CONTENTS53AdjustmentsReset, Status display (Continued)Factory reset mode:Return the adjusting or setting contents on the menuscreen to the factory set
CONTENTS54MaintenanceIf there is some problem inside theprojector, the indicators light up or flash.Trouble indicationsThe power does not come on.→ Ma
CONTENTS55MaintenanceAir filter cleaningCAUTIONIf you use the projector mounted on the ceiling,ask the dealer to carry out the maintenancesuch as clea
CONTENTS56MaintenanceCleaning the lensUse a blower or a lens cleaner to clean thelens.Never rub or tap the lens with a hard object asthe lens surface
CONTENTS57MaintenanceLamp replacementThe lamp will eventually begin to projectdark or dull pictures and finally will not lightup. (Lamp’s life length
CONTENTS58MaintenanceNotes• The projector displays the total working time atevery 1,000 hours (only when plugged in andturned on).• The lamp should be
CONTENTS59OthersBefore calling service personalSymptomThe power does not come on.The power turns off whileusing the projector.No image appears.No soun
CONTENTS6Before use11. Object and Liquid EntryNever push objects of any kind into thisproduct through openings as they maytouch dangerous voltage poi
CONTENTS60OthersD-SUB 15 pin shrinking terminalInput SignalVideo signalAnalog 0.7V(p-p) 75ΩHorizontal synchronizing signalTTL level (positive/negative
CONTENTS61OthersVer SyncThe unit is applicable to the following signals.However, some computers may have differenttimings than those in the chart. Mak
CONTENTS62OthersControlling the projector by using RS-232CConditioning of the Projection Unit can also be done by a computervia the RS-232C, as well a
CONTENTS63OthersClassificationImage adjustmentImage adjustmentImage adjustmentImage adjustmentImage adjustmentLevel adjustmentLevel adjustmentLevel ad
CONTENTS64OthersLiquid crystal displayProjection system 3-panels transmissionPanel size 0.9 inchesDriving system TFT active matrixPicture elements 786
CONTENTS65OthersAccessoriesWireless remote control ... 1Coin shaped battery (CR2025)(Contained in the remote co
CONTENTS66OthersTOSHIBA TLP-B2 Series 3LCD Data ProjectorToshiba America Consumer Products, Inc. (TACP) makes thefollowing limited warranties.These li
CONTENTS67Others6. The repaired product is returned freight prepaid to the purchaserafter warranty servicing.7. If you have any questions about servic
CONTENTS7Before use16. If glass components, including lensand lamp, should break, contact yourdealer for repair service.This product incorporates glas
CONTENTS8Before use19. Damage Requiring ServiceUnplug this product from the wall outletand refer servicing to qualified servicepersonnel under the fol
CONTENTS9Before usePower supply cord selectionIf your line voltage is 220 to 240V, use one ofthe following types of cable.Plugconfiguration Plug typeE
Related products and manuals for Projectors Toshiba TLP-B2U
 (1 pages)
(54 pages)
(45 pages)
(43 pages)
(108 pages)
(136 pages)
(37 pages)
(47 pages)
(74 pages)
(59 pages)
(112 pages)
(34 pages)
(100 pages)
(48 pages)
(37 pages)
(72 pages)
(25 pages)
(41 pages)
(1 pages)
(54 pages)
(45 pages)
(43 pages)
(108 pages)
(136 pages)
(37 pages)
(47 pages)
(74 pages)
(59 pages)
(112 pages)
(34 pages)
(100 pages)
(48 pages)
(37 pages)
(72 pages)
(25 pages)
(41 pages)
© 2020, manymanuals.com. All rights reserved. | 0.261 s |
 Manymanuals.com
 Manymanuals.de
 Manymanuals.fr
 Manymanuals.it
 Manymanuals.pl
 Manymanuals.cz
 Manymanuals.es
 Manymanuals-pt.com
Comments to this Manuals